We had a busy summer... and it started with our son's birthday in May. He turned one, so I got myself a Nikon S2 with a 50mm f1.4 lens to celebrate. A far cry from this digital behemoth, but incredibly pleasant to use. I know it'll be even more pleasant once the rangefinder gets aligned and the viewfinder a bit cleaner... Here it is!
 The camera probably was manufactured in 1955, and sold along with the lens as a kit. Those were the good ole days...
 [Ironic statement]Why leave DeKalb, where I was getting images of this quality[/Ironic statement]? Well... it was the summer, we had some traveling planned, some we had to do, and some we owed to ourselves.

How many times can one photograph a chair, no matter the OOF areas? Let me count the ways...
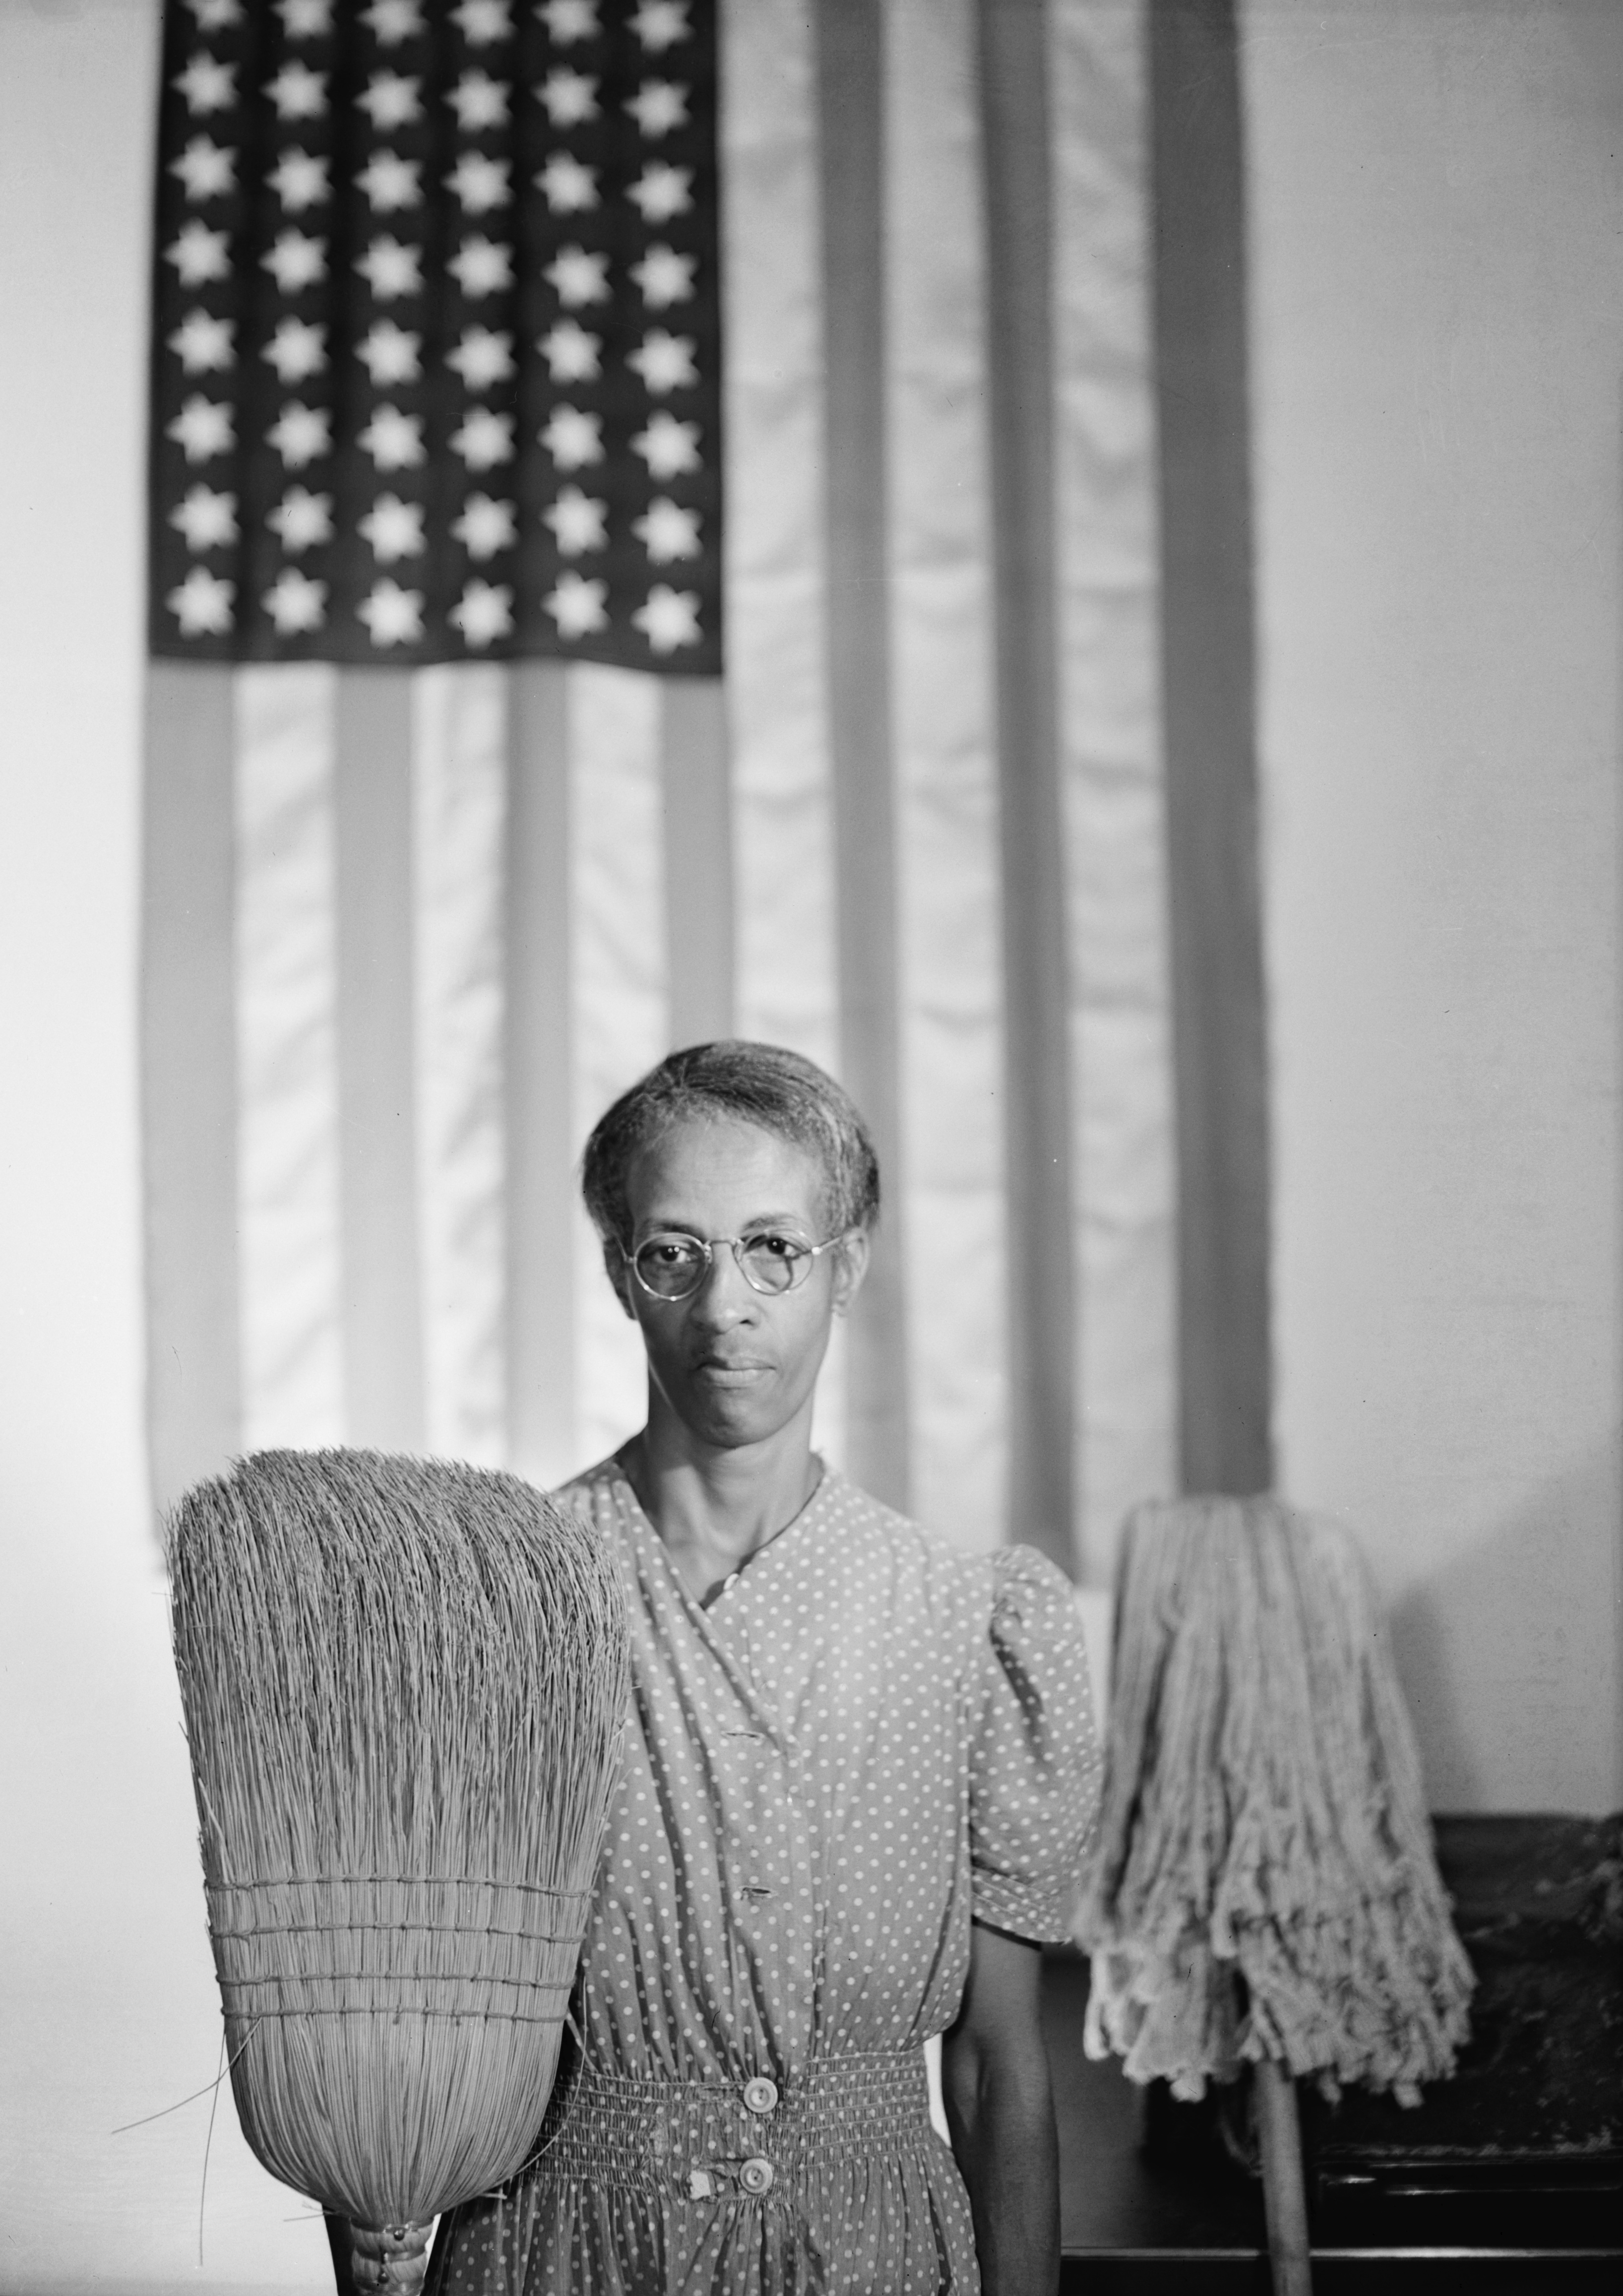
That's why we loaded our car with stuff, clothes and all kinds of things, child included, and went to Washington DC for a professional conference. Where else could I take a photograph that echoes Gordon Parks's "American Gothic, Washington DC"? At least, that's what came to my mind when I looked at this Asian lady cleaning a house that displayed a conspicuous American flag...

Somewhere in Georgetown, not far from Georgetown University, Washington DC.
Before you get on my case and call me names for comparing myself and my snapshot to a classic work of art, allow me to reiterate that the image above reminded me of the one by Parks. I wasn't aiming at recreate it, or even top it (who can?). It was just something that came to me immediately, when I saw the lady through the window. Nothing more, nothing less. I know very well who I am, and I am not Gordon Parks.

Four young women, Antigua Guatemala.
We finished the month with ten days in Guatemala (where I'm from). From June 19 to June 29, we stayed at my brother's home and also managed to spend a week in Antigua Guatemala. We walked, ate, looked at things and I took many photographs, with gear perfectly made for traveling: my D700, with my AF-S 24-120 f3.5-5.6 VR, my AF 70-210 f4-5.6, and my Sigma AF 105mm f2.8.
See? I'm ready to update this blog a bit more often... and finally get to the topic of "Notes" at last!
Thanks for reading.


 I'd like to remember the name of this group from somewhere in Wisconsin. They managed to mix rock and folk in a pleasant way, avoiding the pitfalls of each form. The string players were good, as one can see...
 I was using my AF 80-200 for this series. Even though I like shooting wide open, I chose here to go a bit off the beaten path and closed it just a little. However, for the image below...
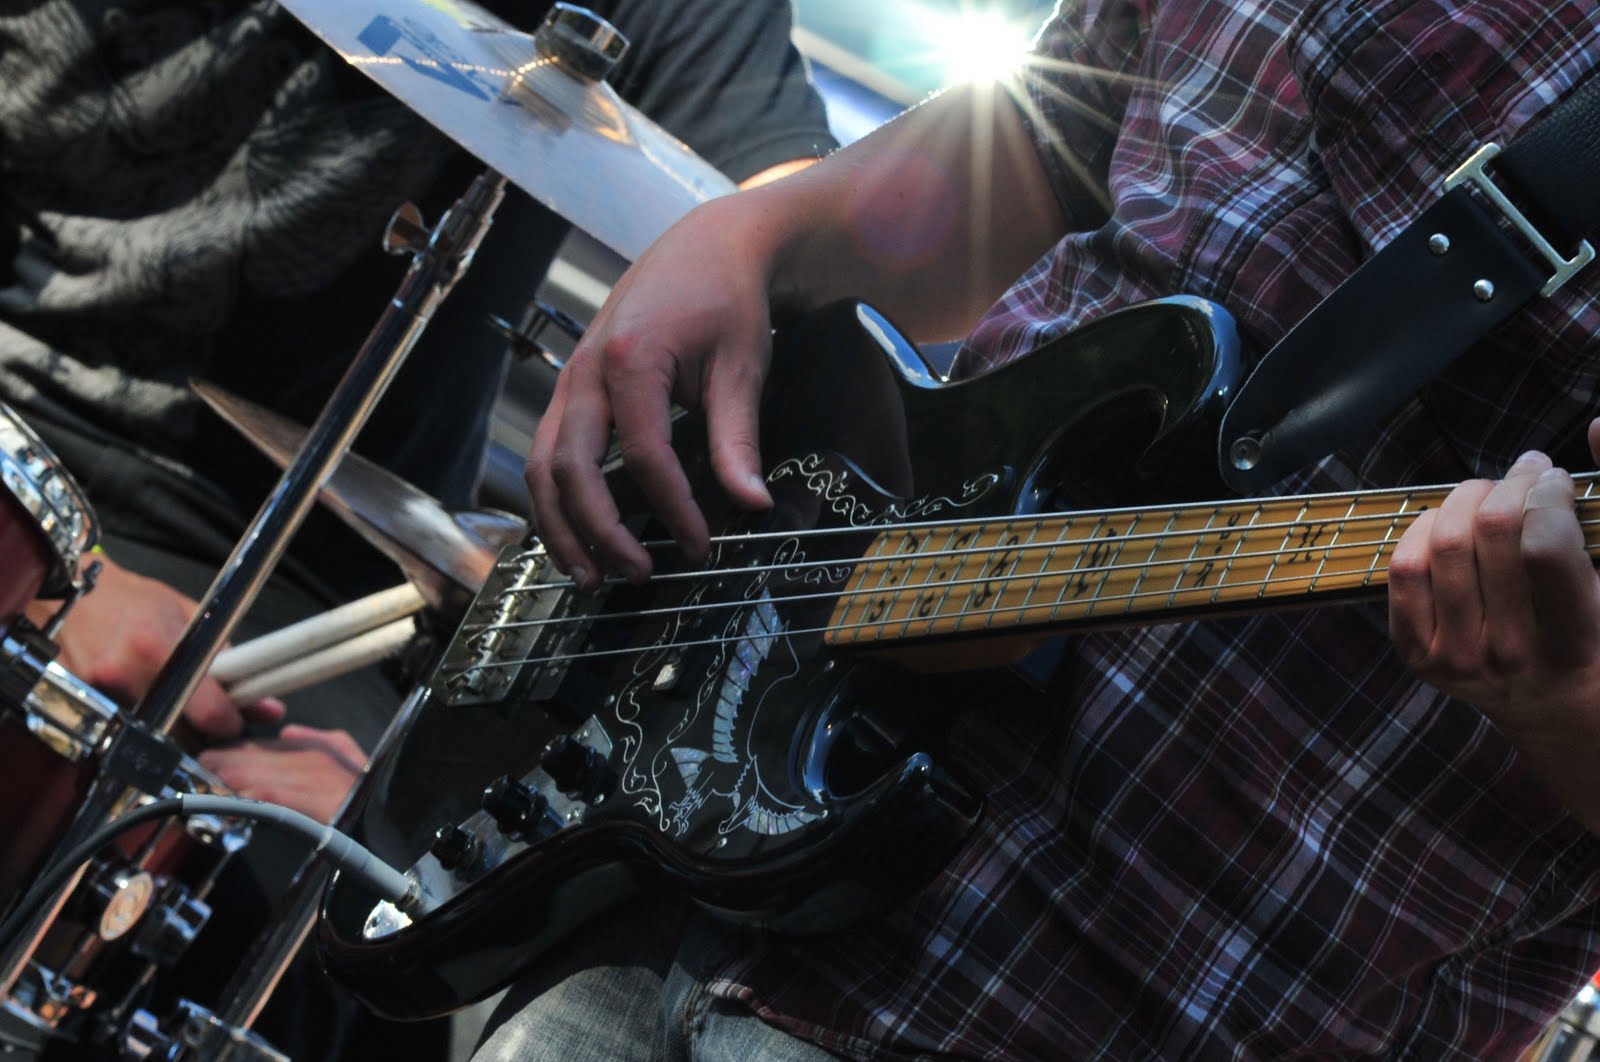 ... I went all the way to f16, 1/320, at ISO 1000 (why not? This camera can do it), just to make the star visible toward the top edge. Neat, huh?